
You will need
a score tool
Spellbinders Label 1 (largest in the set)
Kraft cardstock
Really good quicck drying glue
Vintage Photo Distress Ink (Optional)
Edible Quotes digi stamp
Let's get started
Step 1
Top Box-Cut a piece of Kraft cardstock 7.25”x7.25”.
Bottom Box-Cut a piece a second piece of Kraft cardstock 7.125”x7.125”
(or slightly smaller than the top box).

Step 2
Score at 2”along all 4 sides of both Boxes

Step 3
Cut the corner piece from the end to centre leaving the side fold as shown.


Cut all 4 corners of both boxes.

Step 4
Glue the tapered corners inside to make a box.

Repeat on all four sides of top and bottom box.


Step 5
Die cut 2 Nestie Labels and attach boxes onto labels. Making sure the bottom of the nestie is attached to the top box and the top of the nestie is attached to the bottom of the box.

Decorate


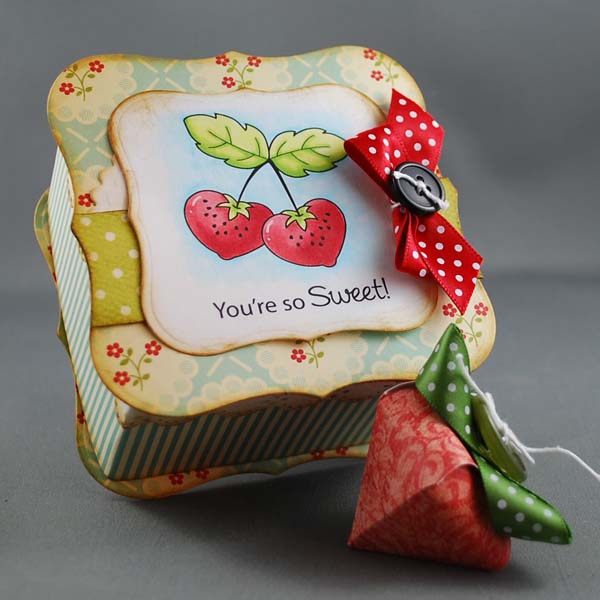
Want to make the strawberry? Here's a free SVG file. This is for use in a SCAL program.
Materials
Thrift Store Designer Paper-October Afternoon
Spellbinders Nestability Label 1
Kraft cardstock
Vintage Photo distress ink-Ranger
3 comments:
Oh wow this is gorgeous!!! Thanks for sharing x
very nice...I like how it came out..tfs
Great little box. And perfect timing too. I'll try to whip up some for this weekends holiday picnic.
Post a Comment